Tips & Tricks - Floor Graphics

With Ganesh Khandare, Technical Marketing manager
Avery Dennison Graphics Solutions, South Asia

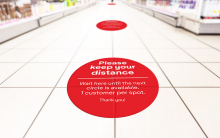
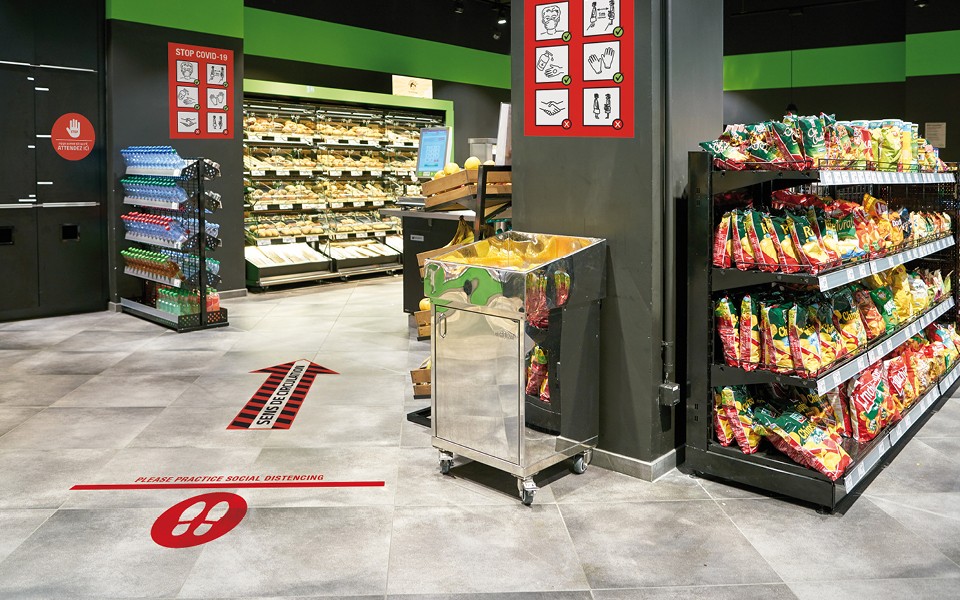
Floor graphics are a great way to reach customers to direct traffic, reiterate Social Distancing, give directional guidance, or even reinforce your brand identity. While vibrant floor graphics can create an interesting medium to communicate with your customer in the retail environment, they can also be slightly tricky to apply and maintain. Here are some tips and suggestions to help you get them right:

Placement of the Graphic

The floor surface to which the graphic is applied should be well secured, level, and free from cracks, chips, and missing and/or loose tiles or grout. The floor surface should also be free of silicone, as the presence of silicone will inhibit adhesion of the graphic to the floor surface.

Preparation of the Floor Surface

Remove dirt and grime with a commercial detergent solution and water. Make sure that the surface is thoroughly cleaned and that no residue remains. It is important to clean not only the area to which the graphic will be applied, but also 8-10 inches larger (20 - 25 cm) than the Avery Floor Marking Graphic on all edges. Wipe the floor dry with a lint-free paper towel. NOTE: Do not allow cleaning solution to air dry
If any grease or oil remains, saturate a lint-free paper towel with isopropyl alcohol (IPA) and thoroughly wipe the application area. Immediately following, use a dry lint-free paper towel to dry the IPA. NOTE: It is important that the alcohol should be wiped dry so as not to leave a residue.

Application of the Avery Dennison Floor Markings Graphic

Locate the exact position on the floor where the graphic will be located. Make sure that edges of the graphic are not along a tile edge, grout, or floor joint. See Figures 1 and 2.

Maintenance

The Avery Floor Markings System has been designed to withstand cleaning with mild soapy water. For the best performance, it is recommended that water should not dwell around the image and that the image is not exposed to oils and solvents for extended periods of time.

Removal

When removing the graphic, start at one of the corners and gently pull the graphic toward you at a 90° angle. It may be necessary to use a putty knife to start the removal process. The graphic should come off cleanly. In the event that there is some adhesive residue on the edge of the graphic, the adhesive can be removed by gently scraping with the putty knife or using a Avery Adhesive Remover, alternatively a citrus cleaner may be used. Dirty contour edges may also be evident after removal of the graphic; however, normal cleaning of the floor will remove these over time.

For more information please refer to our Instruction Bulletins


Subscribe to Graphics Newsletter keyboard_arrow_down
Press Releases keyboard_arrow_down
Blog keyboard_arrow_down